Wednesday 30 October 2013

The Zaku II, The Preparations!!

I'll jump right in and continue off where the last post stopped. I do apologize that this quite slow for a follow up, and also since I'm basically working on this model every day since I started, but uploading the pics took a while and now back to the topic at hand. What I had completed on the first day was the easiest of the tasks which unfortunately I had to face with these remaining preparations before painting. You might think painting is hard, oh no, NO NO NO, its not hard indeed, preparing the parts (these include sanding, molding and carving out parts if you plan on complete modification), and after a loooooong break of not building gundam models, this might not be the right thing to start again with, well, STRIKE 2, genius...


(Above) The above filling up of the empty space under this magazine, was the most smooth of my trials that follow~


(Above) The molding process, in the previous post, in case you are confused, I was making the mold, and in this I have applied it, and I have forgotten to mention that before using the mold you have to apply a layer of talcum powder, to prevent the mold from sticking to the applied epoxy putty. And there you have it, the molded outcome. However, there is much cleaning up to do before I can paint it.


(Above) What I had completed in the previous post, and now that the putty had completely hardened, its time to smooth down the putty to look seamless, well, almost seamless...


(Above) The tool shown works wonders! And I thank the bro who recommended it for smoothing down those pesky, PESKY seam-lines. However, it does take a while to get used to.


(Above) Before and After the smoothing process. It was quite a delicate procedure, and something completely new for me. But in the end, the results this tool can give you really are satisfactory!


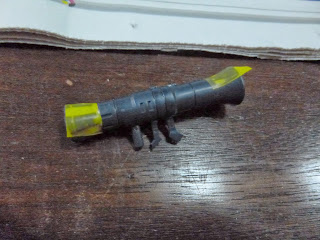
(Above) The 2 halves of the bazooka are cemented together, and then sanded to perfection, but in this pic, just waiting for it to dry.


(Above) All the filled up parts, also the rifle has been cleaned up a bit. However, after more hours passed, I found out that I had not put equal parts for the putty I used for the rifle, and as a result, the putty isn't as hard as I would like it, making sanding it a pain. Didn't really know what more to do with it, so I cleaned it up as best I could.


(Above) If you can make out the top left photo, the upper part of the fingers, the 2 middle ones don't have a clear line between them. Basing my technique on something I had read in Dengeki Hobby, I decided to try carve out the middle line. That was extremely hard, first reason being, you had to have steady hands. But these things are easily covered up by panel-lines.

Guess what, I tried it again...


(Above) Not sure if you can see it, but this was something I really wanted to try. I've always wondered how they make the lines so straight in the magazine.


Well, that's was pretty much second day, had to fill up more parts with putty, but I had finished them all off now. All that's left is the painting and more cleaning up. Now, if you'd excuse me, I have to play more Pokemon Y~


Farid

Sunday 27 October 2013

The Zaku II, The Beginning!

Oh~ Guess who's back with a brand new pack~ It's been a while, mostly because I had just finished the last of my exams and after that had went to visit my sister and her husband (or my brother-in-law, which ever one you want to use) in Kuching (and also my cousins and aunties to whom I say "Thanks for the nice time I had in Kuching, YO~), which is also a break from all the studying and stress and stuff. But now I'm back, back to where most of the tools I use are available, and with that, I can kick my gundam building into full gear! This post is quite delayed because I have been settled for a while, about 2 days. But this was actually a good thing because earlier this day I met up with a few fellow gunpla builders, and we had a nice time sharing ideas, and also methods for painting, panel-lining, weathering and stuff like that. This meeting also kicked my gunpla and building to FIFTH GEAR!! which then made me feel like doing a fully-painted model again.


Yup, the above picture is the model I will be working on. I have a Nataku and an anime version Heavyarms waiting, but I just felt like working on a Zaku II model, I have a HG in waiting and this is the guinea pig!


(Above) For this SD model, I decided to try something new. Looking at the poles for joining the 2 parts together, they looked quite ugly, although these will be on the inside of the model, they would be quite visible even when attached, and after much thought and asking, I decided to remove them and join the 2 parts purely by Tamiya Plastic Cement.


(Above) The finished product, although you can clearly see the marks after cutting, I am planning on doing a little extra cleaning up later on, and also, I might be able to hide it with some good sanding.


(Above) Some of the other parts prepared for sanding and painting. After much thought as well, the feet, rifle and magazine are going to be filled with epoxy putty.


(Above) Much of the parts are filled, but genius Farid strikes again!! Forgot that the other side of the rifle have fine details, and as I'm not too confident in my sculpting, I decided I would make a mold to form the other side of the rifle.


(Above) The magazine however can be easily sanded down to be nice and smooth, no molds required~


(Above) Puttied up the gaps in the shell armour (I call it shell, cause well, it looks like a shell), so that it looks solid on the inside.


(Above) Ran out of putty in the process, forgot to check how much I had left, however, this problem will be fixed tomorrow!


(Above) The head, not the finished product, but just to see how it will look if I opted for a straight build.


(Above) The rifle which I had pre-filled but then realized I needed to use a mold... haih...


(Above) Before and after sanding, you can really see the difference, since after sanding the plastic is obviously not as glossy, but this really makes the paint stick well to the plastic.


(Above) Comparison for both head pieces.


Well, that's pretty much what I had completed in one night, it has been a long time, and me forgetting to mold my parts before filling the gaps with putty really shows that if you stop doing this for a while you get really rusty. I'm also currently playing Pokemon Y on my 3DS XL and hopefully after I finish the game, I shall give my opinion on the latest Pokemon Game, which has also brought a lot of new changes. But I will post that in another post! Buh Bye!!!


Farid

Wednesday 9 October 2013

Some Cool Mechs!

I was quite busy this week due to exams and stuff, and the last 3 posts were scheduled as I wanted to try it. And thankfully there were no problems with the scheduling system and all post were on time. Anyway, getting to this post, this was something I knew nothing about actually, and after browsing 9gag (I know 9gag of all places), I came across this photo :


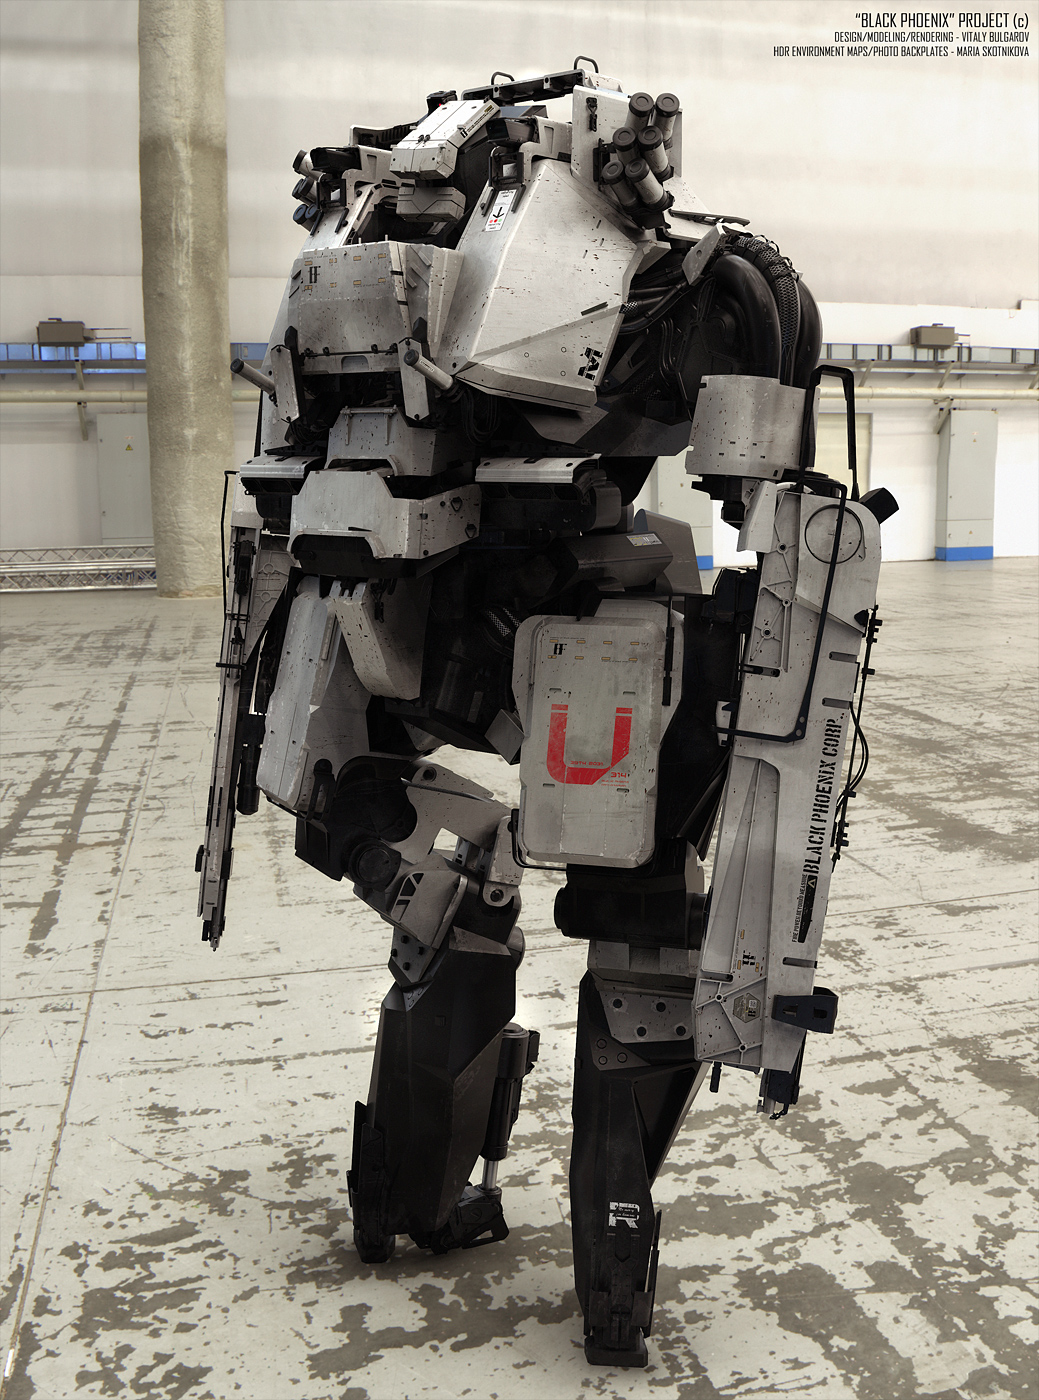
(Above) The Praetorian, its actually pretty hard to see the name, and if I got it wrong forgive me. The only way I knew the name was linking this photo from the official site (check it out).

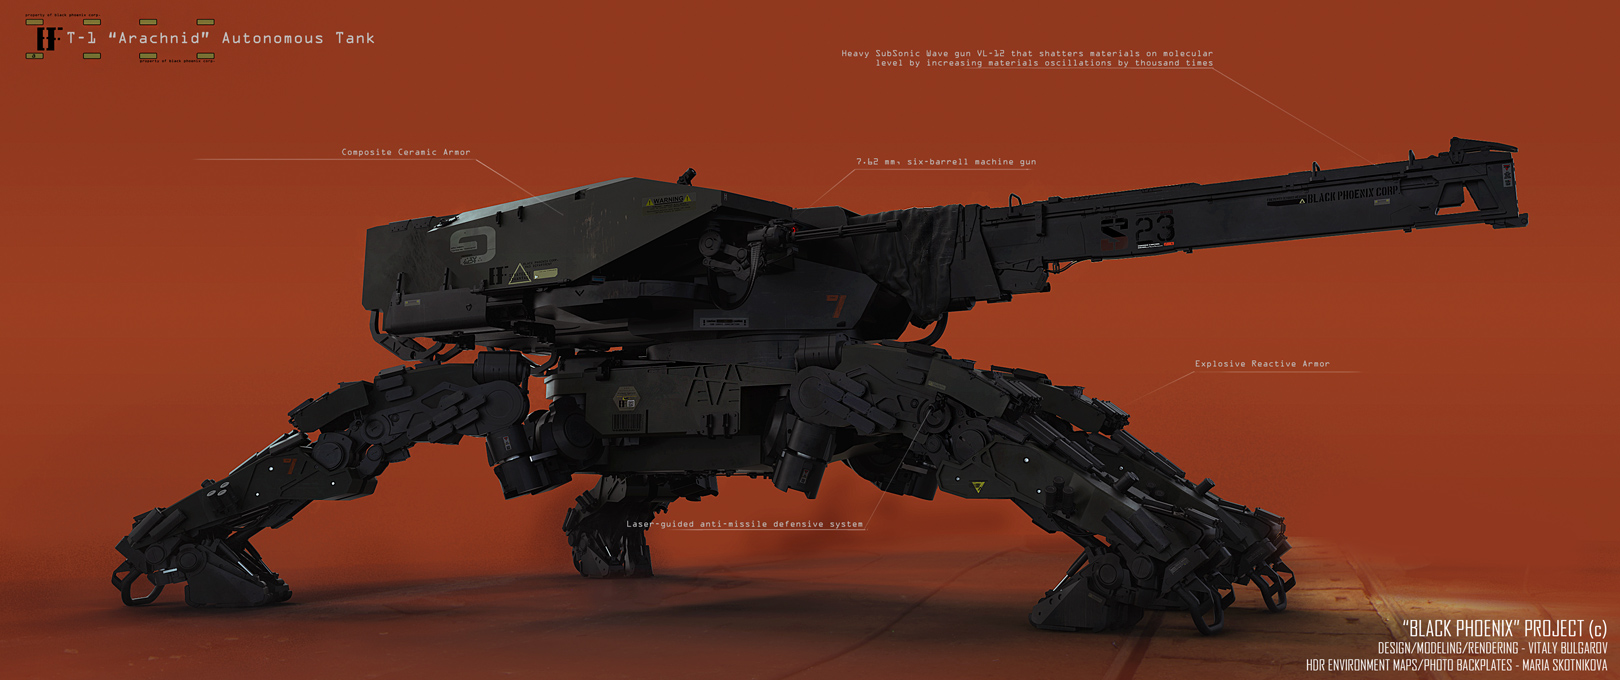
And I was like "Woaaaaaaaah! What is this!?!" And after reading the comments of the post a little, I managed to get the name Black Phoenix Project. The mech looks surprisingly realistic, I was too quick to believe it was, but I still doubted it at first and my doubts are corrected. This is not a real "Military" project, but a conceptual one, by a guy named Vitaly Bulgarov. The dude is a 3D artist and used to work for a few video game companies, one of them being Blizzard Entertainment and also a few other movie companies.

So this Black Phoenix Project is a fictional military corporation that manufactures battle ready mechs! He made quite a lot of unique and realistic looking (which also implies that this sort of design might be logical) mechs.


(Above) This mech is named Stalker, much like the Protoss Stalker, but in my opinion missiles or rocket launchers, whatever those things are, much, much cooler than Psi Disruptors.


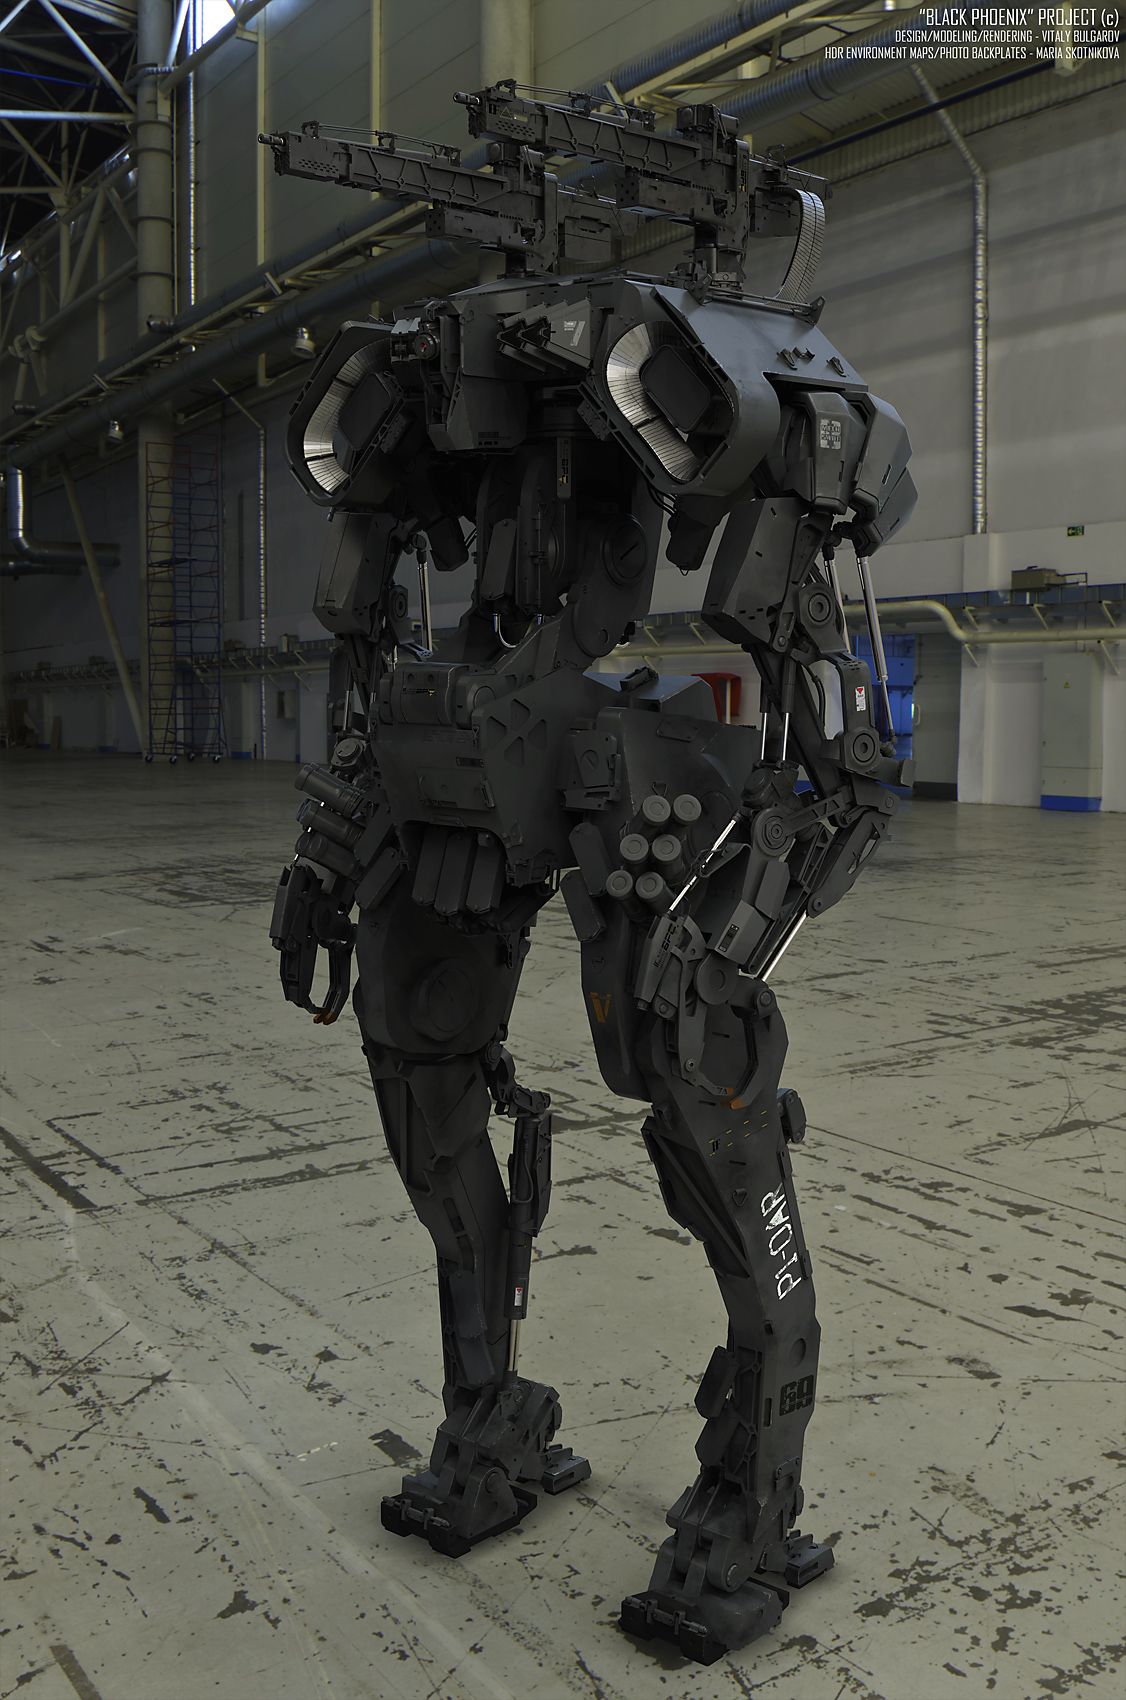
(Above) This one is named Squad Four, I've always liked humanoid, but at the same time bulky looking mechs.


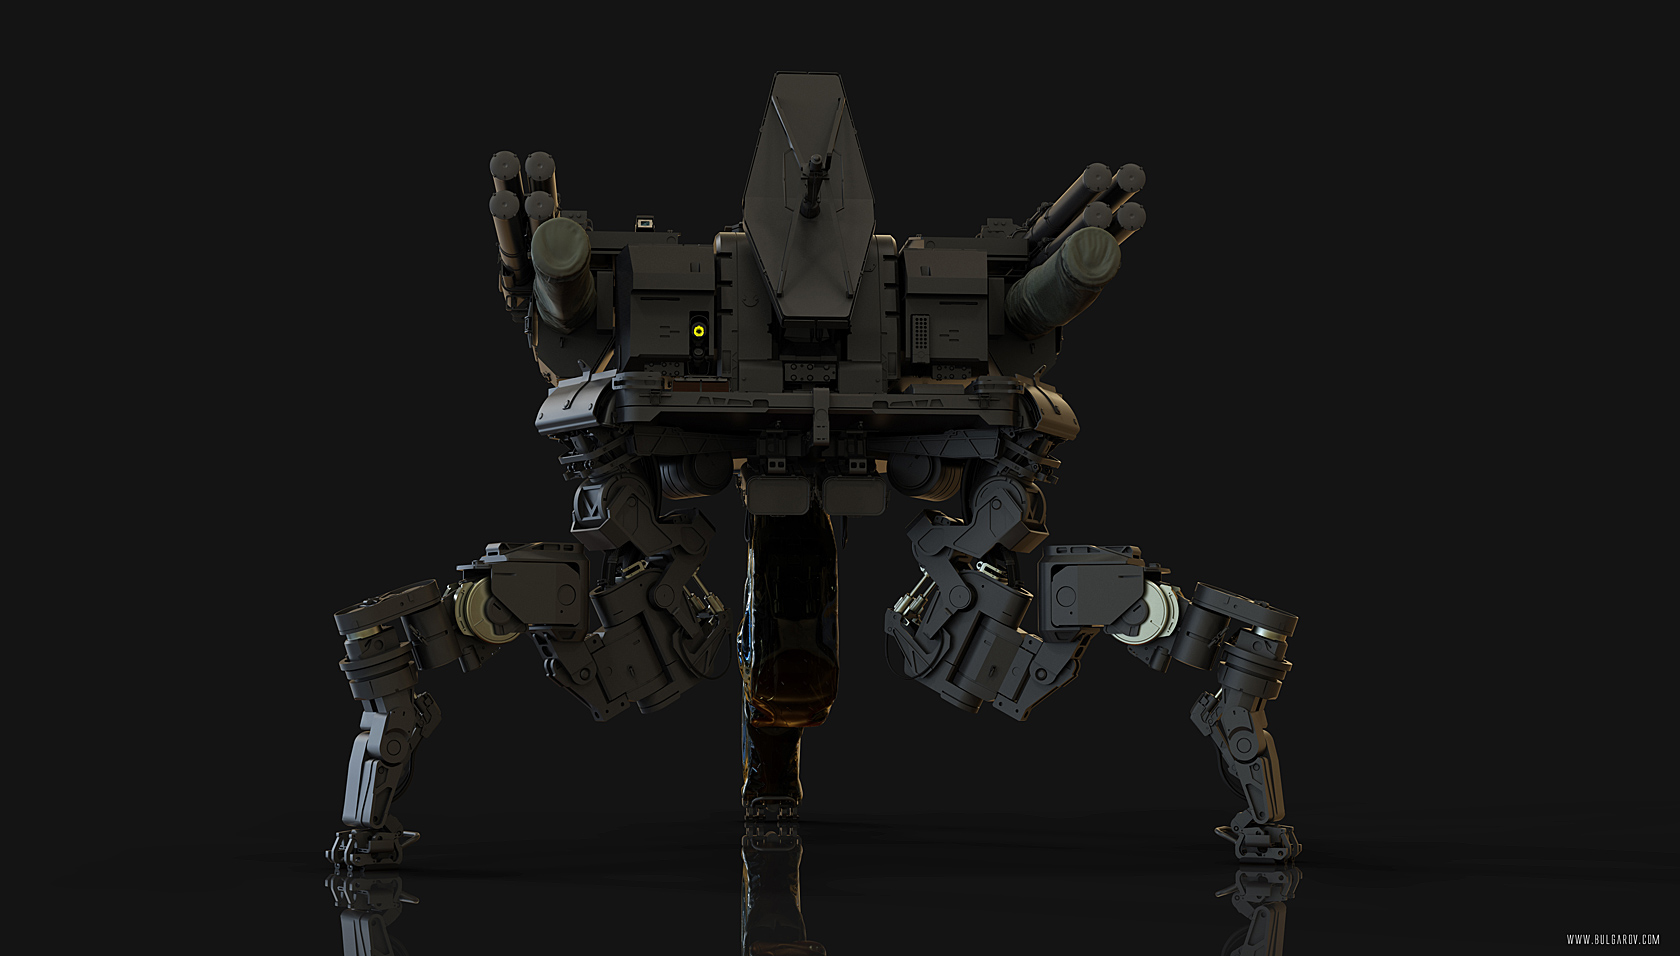
(Above) And last but not least, the Arachnid Autonomous Tank, very clearly able to see the name. But a tank is cool, and I have wondered how efficient moving using legs are compared to using caterpillar wheels. Might depend on the terrain...

These are some really cool concept arts, but before we get to this, I'm hoping there's a whole game built around this, might introduce a new kind of shooter, well you never know. And if they come out with models of these bad boys, I'm gonna buy em all!


Farid
(if I have money...)

Friday 4 October 2013

Virtual On, More of It!

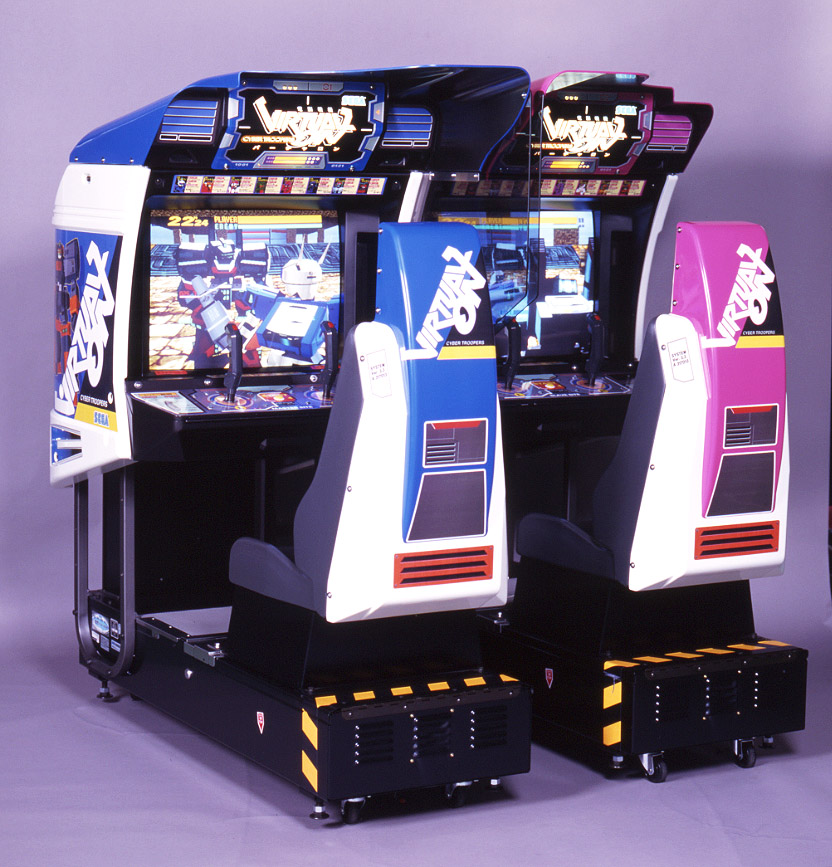
After searching the web for, I would say so myself, a really long time, at last I have managed to find and at the same time get a few emulators working to play a few games, which during my little kid days, did not manage to play and just hear the vast amount of talk these games had at that time. One of the most popular games, arcade games, which was the in thing at that time if I remember correctly, was Virtual On. Other than those games, some of the popular ones that I remember my brother talk and find the time to play was Virtua Cop and also House of the Dead. All of these games were produced by SEGA, which at that time had their own console, something called the Dreamcast, and the Saturn which was before that.


(Above) The SEGA Virtual On arcade machines which every time I spotted, would make my eyes shine~


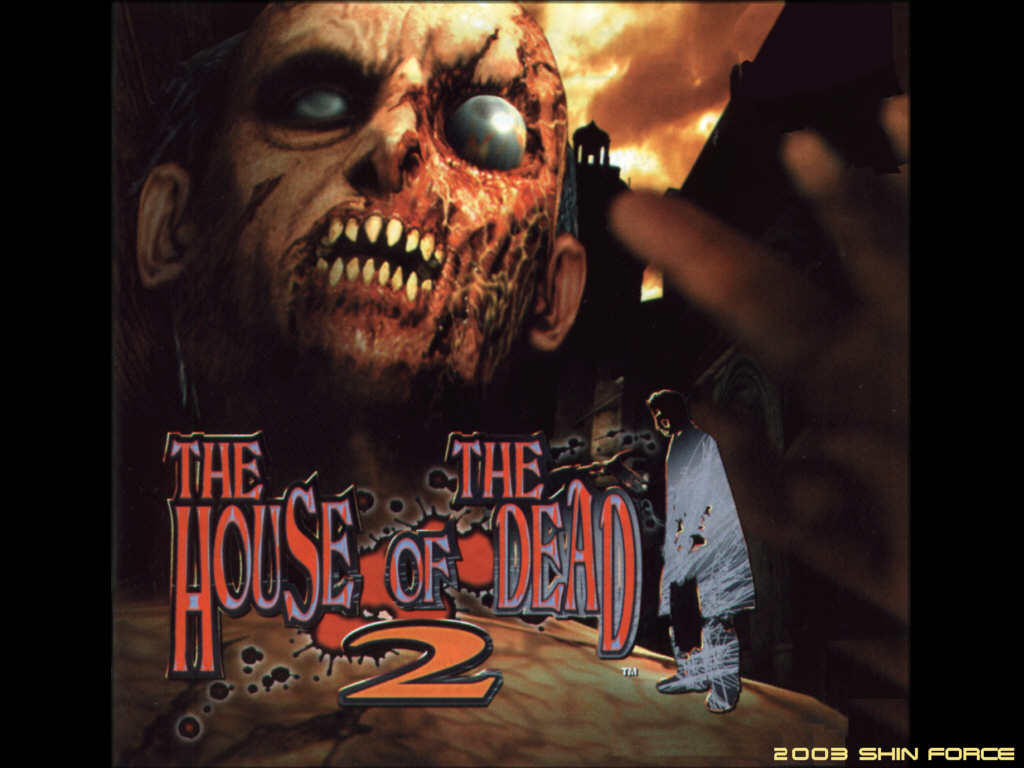
(Above) House of the Dead 2, which if my memory serves me right, was also extreme popular. The new House of the Dead 4 is currently quite popular, and I play it with much enjoyment!


(Above) Virtua Cop, I played this a lot since back then, it was one of the few games we owned.

Now, back to the main topic. Recently I had purchased Virtual On Marz, which was available only for the Sony Playstation2 (I never owned one...). But shortly after, my friend lent me his PS2 shortly after I finished an important exam. However, this game a disappointment to me. I didn't regret the purchase, just having the game was something I was okay with, but undeniably, the gameplay was leagues off that of the original Cyber Troopers Virtual On. 


(Above) If you watched the video, I must first apologize for the bad gameplay, but it was mainly to show some of the graphical difference as well as how fast the gameplay is. The game is as sluggy as it looks, and that in an arcade game is not really good...

Moving on, I enjoyed as much of the game as I could, but the lack of the extremely fast action the original had, left me wanting more. After reading much about the Dreamcast emulator, and I managed to get my hands on the game for the original Dreamcast (was not easy, not many sell them), I started trying to get the emulator to actually work. This took quite a while, as most of the websites for the developers of the emulators had stopped updating them. Obviously, its old hardware, and you can't hold on to them forever. And the compatibility of the emulators, was up to Windows XP, which made me doubt that I could get the emulator to actually run (compatibility mode was available, as you could select it to run on XP, but still, that stuff doesn't really work for emulators). However, to my surprise one day, I managed to get the right emulator, Chankast was not compatible and it was the other less known NullDC which actually got the game running. And here's a short video, much of it after I got used to the controls as well as managed to get it to run without much of a slow down :


As you can see the game runs much much much faster than the newer Marz (yes, it needed that many "much"s). However, as fun as Virtual On Oratorio Tangram is, and how nice some of the new virtuaroids for that game was, most of the original designs look better due to their simplicity in my opinion. Looking forward to playing more games on the original Dreamcast, which is funny with all the new consoles out and due to be released. That's pretty much it!


Farid